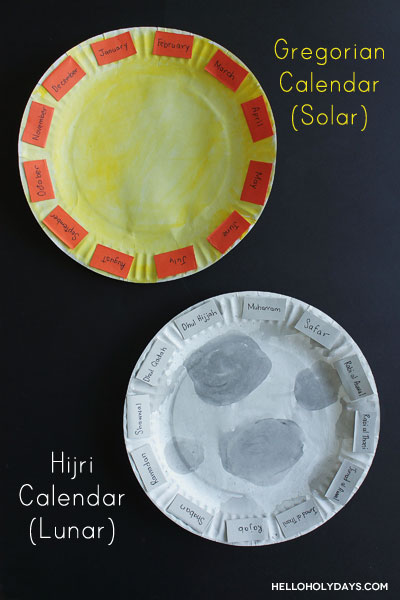
Knowing the months of the year is key to knowing when holidays will fall. Helps kids learn the hijri months with this hijri calendar craft. Muslim holidays follow a fully lunar calendar whereas traditional North American holidays follow a solar calendar (except Easter which follows a lunar-solar calendar). This paper plate craft is a great activity for elementary aged kids. It helps them visually see the difference between a solar Gregorian calendar and a lunar Hijri calendar – and learn the names of the month for each calendar.
Materials
- 2 paper plates, white
- Acrylic paints (yellow and black)
- Jar of water (for painting)
- Paintbrush
- Grey construction paper
- Orange construction paper
- Black felt tip pen
- Double sided tape
- Scissors

Steps
Write the Month Names
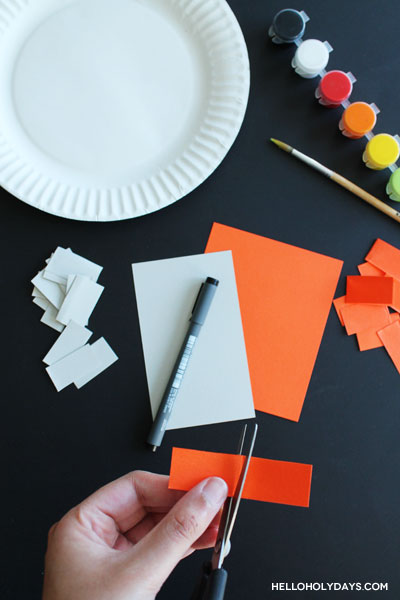
1. Firstly, cut out rectangle strips from the construction paper (mine are about 1″ long and 0.5″ in height.) You’ll need 12 orange strips and 12 grey strips.
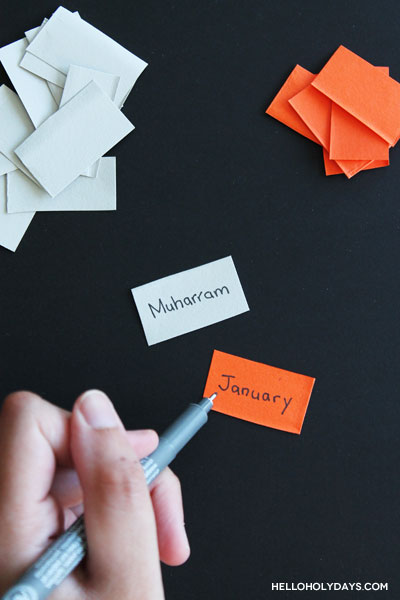
2. Then, write out the names of months on the strips; write Gregorian month names on the orange strips and Hijri month names on the grey strips. If you’re not familiar with the names of Hijri months yet here they are:
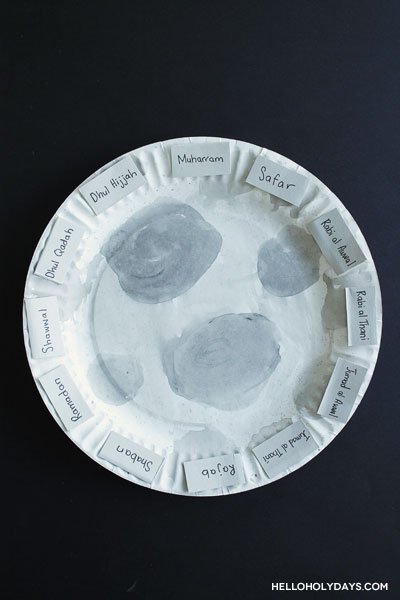
Muharram
Safar
Rabi al Awwal
Rabi al Thani
Jamad al Awwal
Jamad al Thani
Rajab
Shaban
Ramadan
Shawwal
Dhul Qaddah
Dhul Hijjah
Paint the Paper Plates
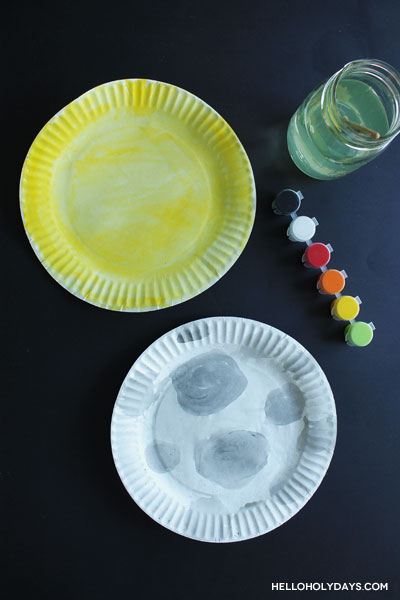
3. Now the messy part – paint the paper plates! Paint one yellow to represent the sun and paint the other one with craters to represent the moon.
4. To do this quickly (with little paint), I wet the paintbrush with water (keep a jar nearby) and apply only water to the paper plate first. Then I dip the paintbrush into just a little bit of paint and apply it to the wet plate.
This way, the water spreads the paint on the paper plate so it gets painted quickly. Plus it gives a cool watercolor effect, which is especially great for painting the craters on the moon. Be sure not to apply too much water though otherwise your paper plate will curl.
(Note: I used black paint diluted with water to create the grey craters – so you don’t actually need to get grey paint if you have black paint on hand.)
5. While the plates dry (they dry pretty quickly because I’ve used very little paint) put tape on the back of your strips of paper.
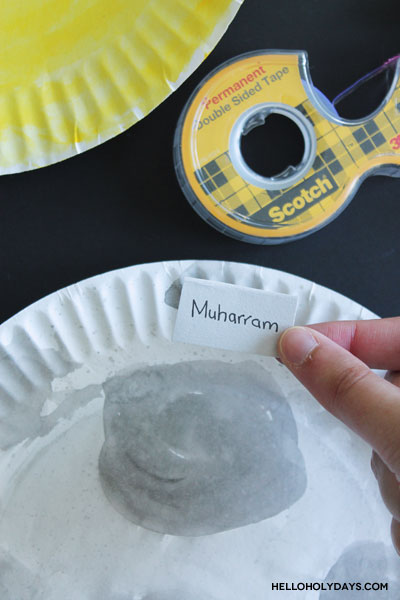
6. Once the plates are completely dry, you’re ready to start placing your months all around the paper plate! To space them out evenly, think of the paper plate like a clock. You can start by positioning the 12th, 3rd, 6th and 9th months and then fill in all the months in between. You can also write out the numbers on the paper plate (again like a clock) and have kids stick the corresponding month on the number.
Shop products by Hello Holy Days!

